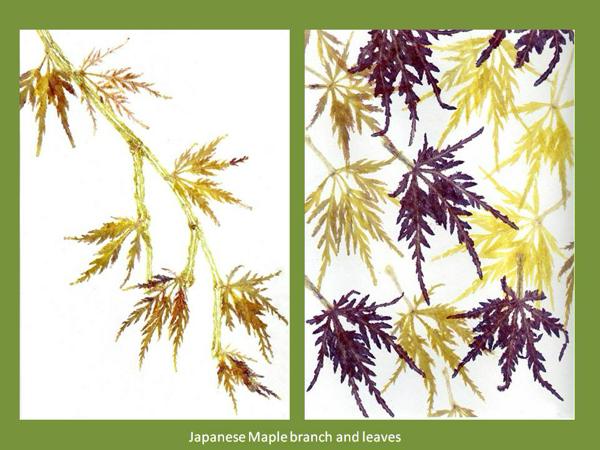
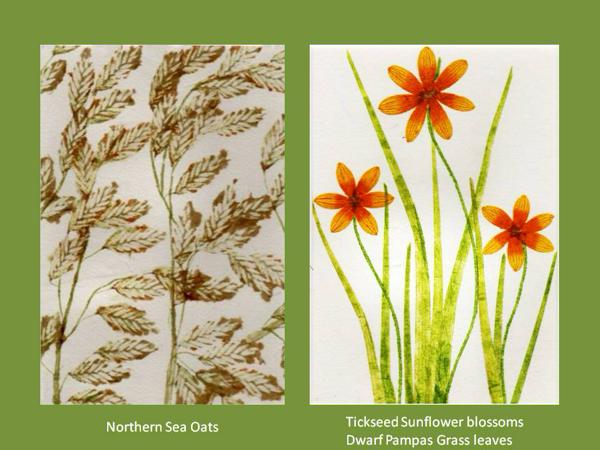
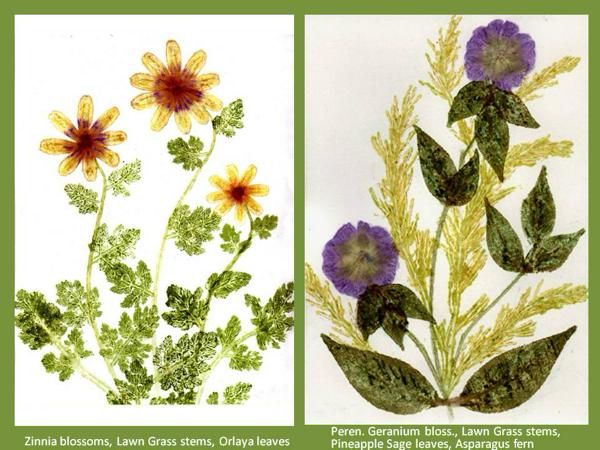
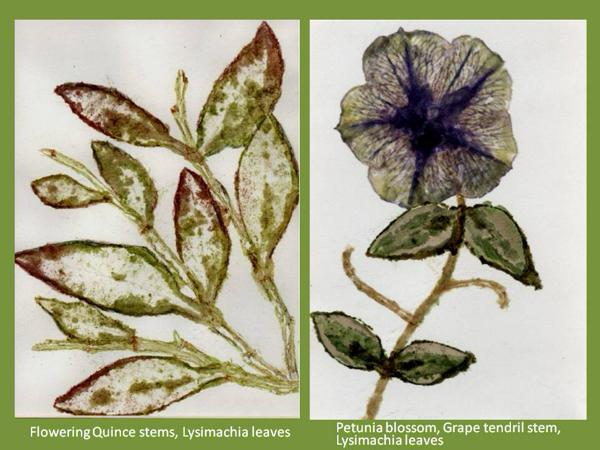
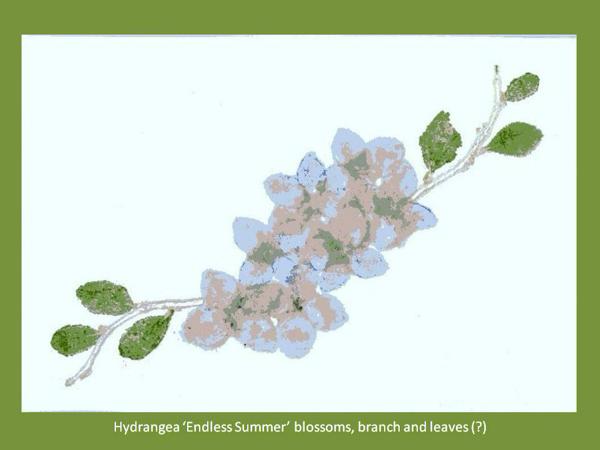
Hammered Botanical Prints
Feb 11, 2015
"So you do this when you're hammered, right?" said my friend, trying unsuccessfully to keep a straight face. I smiled and forgave her for the lame attempt at humor.
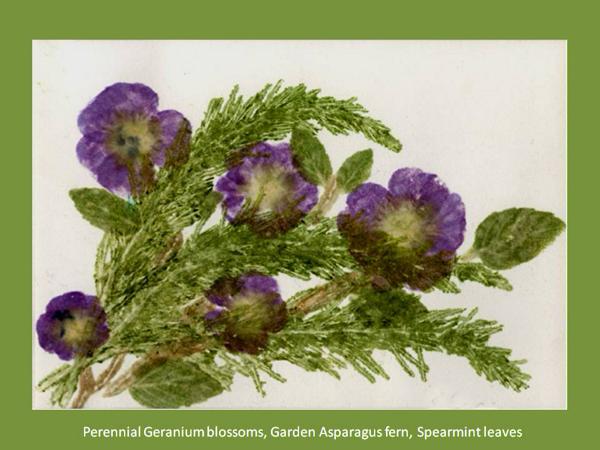
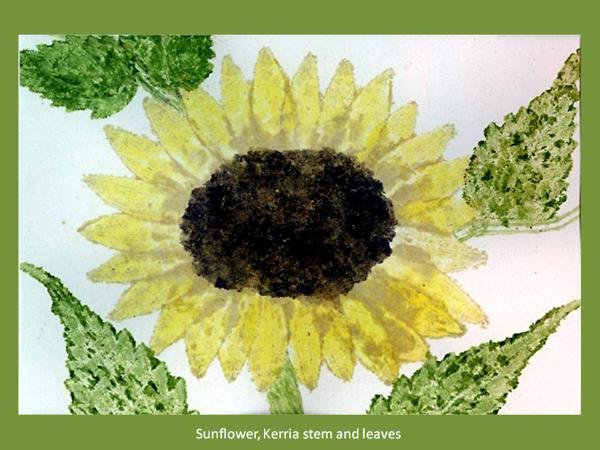
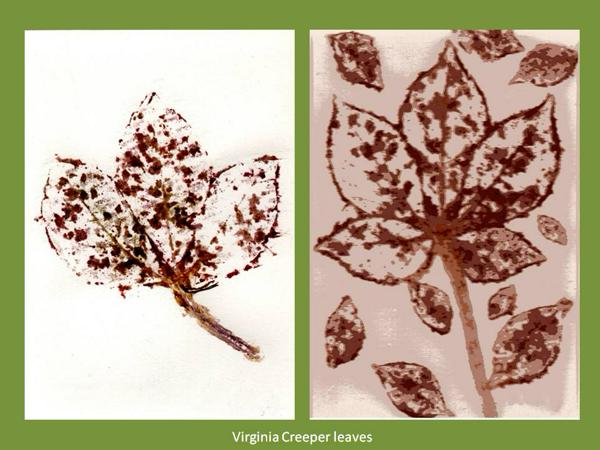
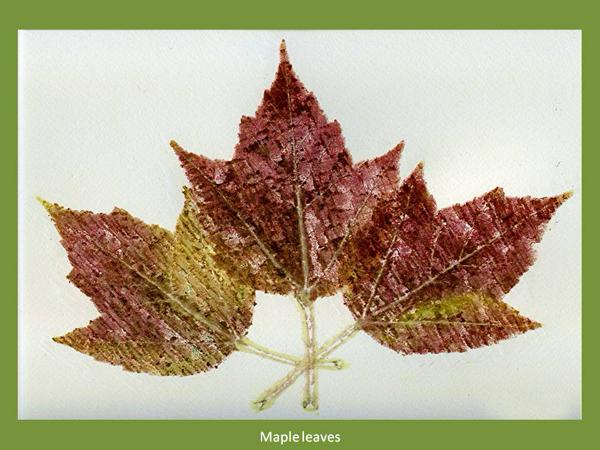
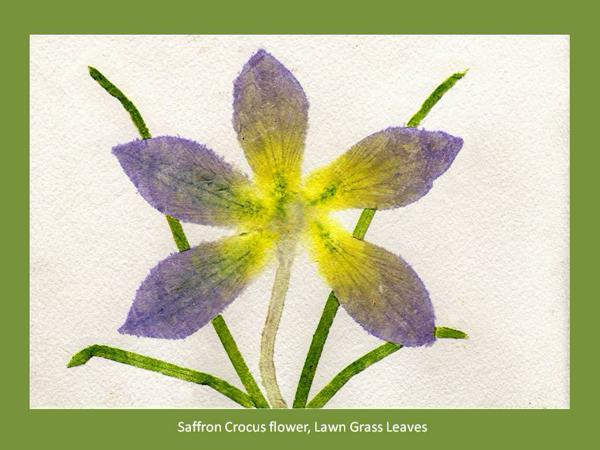
A number of Christmases ago, I had expressed an interest in flower pounding, a decorative craft that has been around for a long time. My wife picked up on my not-so-subtle hint and presented me with a how-to book. In a nutshell, the process involves taking live plant material, taping it down on a piece of fabric, and then pounding it into the material with a hammer to produce an image.
After doing a few poundings on muslin and other kinds of fabric the next spring, frustration set in. It was not so much because of the degree of difficulty (which can be considerable), but because I felt the images were not just decorative, but beautiful and substantial enough to stand on their own as works of art.
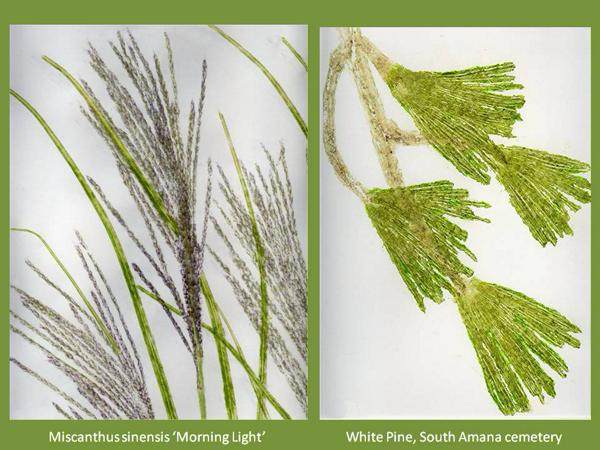
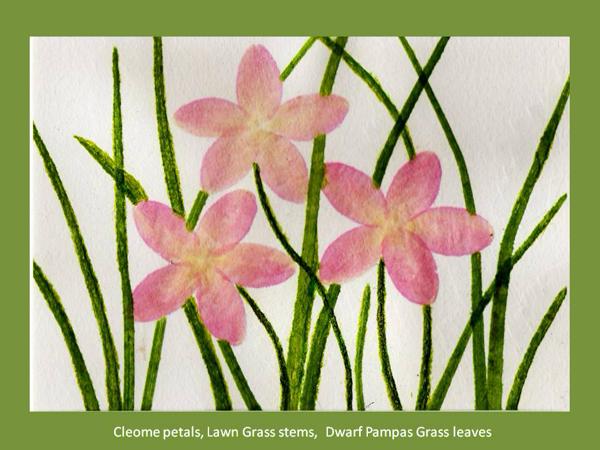
In my quest to elevate flower pounding to an art form, I hit upon the idea of using watercolor paper instead of fabric. This would take the images out of the realm of decoration, allowing the viewer's focus to fall solely on the images themselves. I soon discovered that not just any watercolor paper would do. My search ended happily when I discovered Arches of France, a company with 500 (that's not a typo!) years of experience in producing paper. There are a number of types, sizes, and weights of paper to choose from. I generally use cold press, 30" X 31" sheets of 140 lb. paper and cut them to size. They're somewhat pricey, but certainly not a budget buster.
The process begins with the selection of live plant material. Before it's incorporated into a print, I create a proof of each piece of material to determine its water content. If it contains too much moisture, the result is generally a nondescript, unusable blob of color on the paper. If it contains too little moisture, little or no color transfers from the material to the paper.
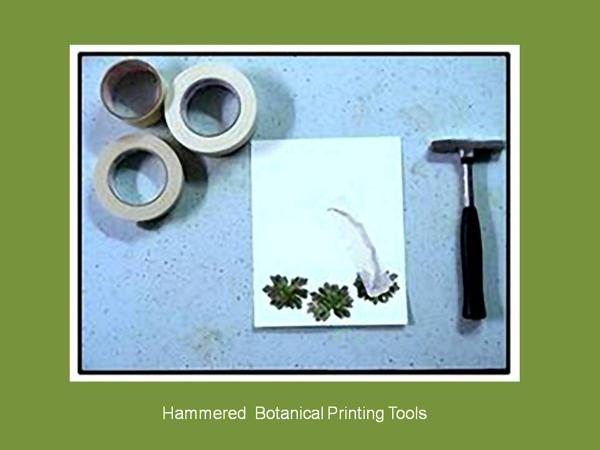
Both proofing and actually creating a finished work involve the same process. I position the plant material on the watercolor paper and then tape it down with masking tape. When it comes to tape quality, cheaper is generally better. Inexpensive tape is thinner and somewhat transparent, allowing me to monitor what's going on under the tape as I hammer. It also is less sticky, decreasing the danger of taking some of the paper along with it when I remove the tape. Using a small tack hammer with a flat, square head, I begin hammering the tape-covered material to release its color and create an image on the paper. Proofing helps me determine how hard I need to hammer to produce the desired image. A very hard hammering surface produces the best image in most instances. I use Formica mounted on a hardwood base.
When I'm done hammering, I carefully remove the tape and, with it, the remaining plant material, being careful not to smear the image nor create inadvertent blotches from dripping or falling debris. As a rule, I don't take the tape off all the way at first. If I spot an area that needs more hammering as I pull up the tape, I simply put the tape back down and hammer that area some more.
After allowing the paper to dry for a few minutes, I hammer more material into the paper until the desired image is complete. When the paper is dry, I spray it with an acrylic fixative to protect the print and to make sure that any desired plant residue will adhere to the paper permanently.
I find this kind of artistic expression very satisfying. There is something magical about being able to create beauty not only by planting and maintaining a garden, but also by using living material from our gardens to create art in a new and exciting way.
You may purchase 5X7 matted prints of any of the hammered prints above for $50.00 plus $5.00 shipping. They are faithfully reproduced on an art printer using water soluble, fade resistant ink. Framed prints in 8X10 frames (silver or black) are available for $60.00 plus shipping. Please contact me at my email address at the bottom right of this page.

